Using augmented reality to create realistic outdoor landscaping projects is becoming increasingly accessible. However, for these projects to be realistic and convincing, there are certain essential steps to follow. Here are five tips to help you make your augmented reality projects credible with logyconcept3D! 😁
1. Taking beautiful photos
Before you even start designing, it's crucial to have good photos of your surroundings. Prefer landscape shots, and vary the angles from which you take them to capture the entire outdoor space. This will give you a solid base and enable you to better integrate your 3D objects into the existing environment. Take the time you need to get this right, even if it seems long, because the final result depends on it!
✨ Tip: Watch our YouTube video " How to take quality photos?"Click here to find out more!
2. Playing with textures
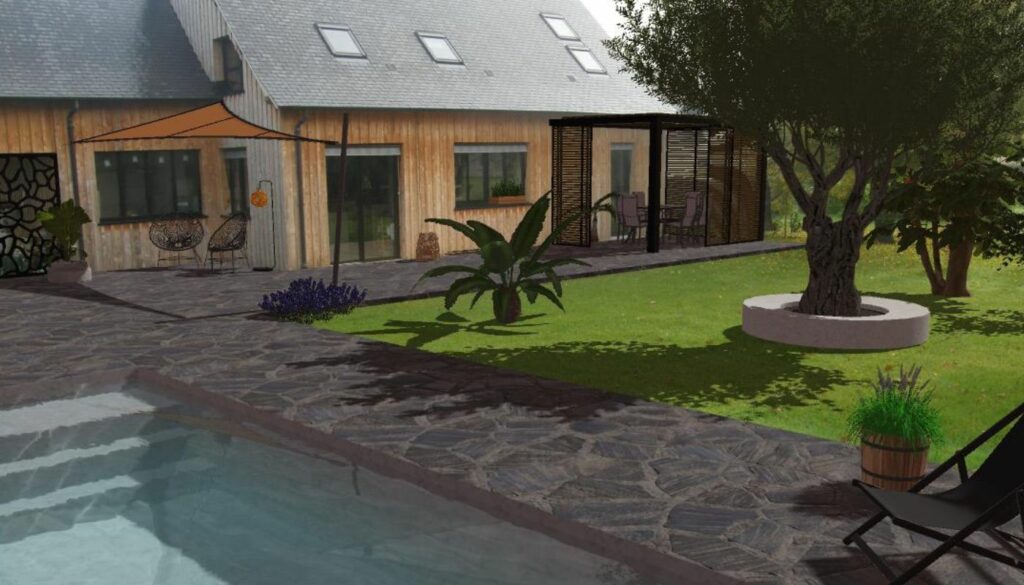
Textures are fundamental to the creation of realistic 3D projects. They enable you to simulate authentic materials such as wood for terraces, stone for walls and grass for lawns. Vary your textures for a detailed visual effect. The more faithful your textures are to real materials, the more your customers will be able to project themselves into the final result.
🌱 Tip: Make sure the textures you choose match the materials used for real immersion!
3. Simulate different times of day
Light has an enormous impact on the perception of outdoor spaces. Use schedule simulation to show your customers what their garden or terrace would look like at different times of the day. Soft morning light or the warm hues of a sunset can help your customers fully visualize their space!
⛅ Tip: Use the simulation tool between two schedules, available in logyconcept3D, for a guaranteed "Wow" effect!
4. Calibrate photo
Correct calibration is essential to avoid errors such as incorrectly scaled 3D objects or badly positioned elements. Correctly calibrating the photo allows you to accurately superimpose 3D objects on the image, making the experience much smoother and more realistic for your customers.
🎯 BONUS: Also be sure to calibrate your camera properly to ensure accurate, usable shots. Watch our video on the subject here: "How to set camera parameters" !
5. Create hidden zones
If some of your 3D objects encroach on unwanted parts of the photo, use masked areas to keep only the essential elements. This technique improves the legibility of your project, masking unnecessary parts and highlighting important areas, for a much more professional rendering.
🔍 Discover our YouTube video " How to create a hidden zone "You'll learn how to master this technique.